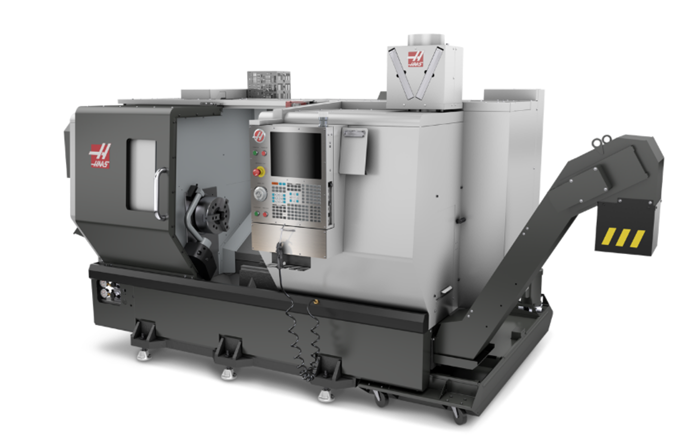
Haas ST-20Y
 The Haas ST Series high-performance turning centers were designed from the ground up to provide setup flexibility, extreme rigidity, and high thermal stability.
The ST-20Y has a small footprint, yet provides a generous work envelope. The addition of Y-axis and live tooling allows milling, drilling, and tapping for increased machine capabilities. This machine offers the best performance for the money – the best value – in its class.
- 12-station base mount turret (BMT65)
- Y-axis milling, drilling, and tapping
- Small footprint
- Made in the USA
Milling
- Fanuc Robo Drill T21iFL W/Pallet Changer
- Mazak Nexus VCN-570C W/Smooth Technology
- 2 MAZAK Nexus 510C
- 2 HAAS VF2 SSYT equipped with 5-axis trunnions
- HASS VF4 SS
- HASS vf2 equipped with HAAS Rotary 4th Axis Indexer
- HAAS VF-3
- TRAK DPM AGE Three Axis Bed
- Lagun FTV-2 with Protrak MX3 Control
- Kitagawa Rotary Table
Turning
- Mazak Nexus 250-II Quick Turn
- HASS ST20Y Lathe With 3rd axis
- Add new manual lathe and remove the two we don’t have anymore
- CNC Lathe with Prototrak LX2 Control (17″ swing x 48″)
- PHOENIX 216-162 Helmel Coordinate Measuring Machine Measuring Range (20”x16”x16”)
X 20” Accuracy .00008” y 16” Accuacy .00012” Z: 16” Accuracy .00012”
Repeatability .00013” Volumetric Accuracy .00038”
- Helmel Coordinate Measuring Machine (25″ x 24″ x 18″)
- 14″ Optical Comparator with metrology display inspection
- 24″ Mitutoyo Electronic Vertical Gauge System
- Full Complement of Pin Gauges and Measuring Accessories for any type of part
Computer Equipment
- CAD/CAM: MasterCAM Version 2024 for CNC programming Milling and Turning and interfacing with customer SLDPRT, step and other forms of 3 d files.
- Local Computer Network: Shop networked to all machining centers for job processing with minimum set up time.
Supplemental Equipment
- Drill Presses
- Vertical Band Saws
- WF Wells Horizontal Band Saw
- Kalamazoo Precision Cold Cut Saw
- Abrasive Cut-off Saw
- Glass Bead/Sand Blaster
- Sweeco Vibratory Finishing System
- Heat Treating Oven (9″ x 9″ x 12″)
- Surface Grinder (6″ x 18″)
Inspection
- Helmel Coordinate Measuring Machine (25″ x 24″ x 18″)
- 14″ Optical Comparator with metrology display inspection
- 24″ Mitutoyo Electronic Vertical Gauge System
- Rockwell Hardness Tester
- Bendix Profilometer for Surface Micro-finish
- Full Complement of Gauges and Accessories
All parts are inspected to meet drawing tolerances and specifications. All equipment maintained under current calibration.
